The “Configure RIP (Default)” dialog shows the RIP options that you may modify. These RIP options are only used when the related check boxes are selected.
There are added [Value description] and [Non-Checked Default] value in new columns of the main dialog (Figure 1). (NOTE: [Non-Checked Default] value is shows what RIP option does with when it is not checked.)
To modify the RIP configuration options:
-
Go to [Setup] and select RIP Configuration > Configure Adobe RIP. This opens “Configure RIP (Default)” dialog (Figure 2).
- Select the option name you want to configure.
- Click [Edit]. This opens the “Enter/Edit Configuration” dialog. (Figure 3).
- Modify your RIP option, and click [OK].
TIP: All RIP options are available in the drop-down menu in the Enter/Edit Configuration dialog when you click the [Insert…] or [Edit…] button. The second drop-down menu will list all valid values for the selected RIP option.
There are following RIP options in the “Configure RIP” dialog:
 COMPATMODE
GlobalRasterizationThreshold
IGNOREPDLALLBELNDSPACES
UseEmbeddedOutputIntentProfile
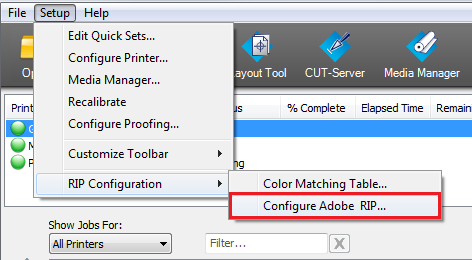
Figure 1
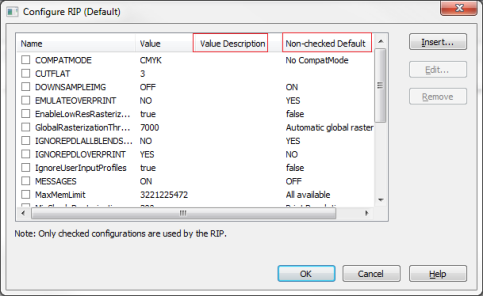
Figure 2
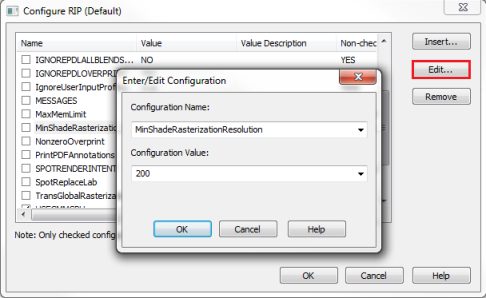
Figure 3